Composting at home is a fantastic way to reduce waste, enrich your garden soil, and contribute to a healthier environment. If you’ve never tried it before, the idea might seem intimidating, but getting started is easier than you think. In this post, we’ll walk you through beginner tips for composting at home, making the process simple and enjoyable.
What is Composting?
Composting is the natural process of recycling organic materials, such as food scraps and yard waste, into a nutrient-rich soil amendment known as compost. This compost can improve garden soil by increasing its ability to retain water and nutrients, reducing the need for chemical fertilizers.
Benefits of Composting at Home
Before diving into the “how,” here are some great reasons to compost:
– Reduces landfill waste: Keeps food scraps and yard debris out of the trash.
– Helps your garden flourish: Provides plants with balanced nutrients.
– Saves money: Reduces need to buy commercial fertilizers and soil conditioners.
– Supports the environment: Lowers greenhouse gas emissions from decomposing organic waste.
– Encourages healthy soil: Promotes microorganisms essential for plant growth.
Getting Started: What You’ll Need
You don’t need much to begin composting at home. Here are the essentials:
1. Choose a Compost Bin or Area
– Compost bin: Available in various shapes and sizes—tumbling bins, enclosed containers, or simple open bins.
– Compost pile: If you have space outdoors, you can simply designate an area on the ground.
Consider space availability, convenience, and aesthetics when choosing your method.
2. Gather Organic Materials
Compostable materials fall into two main categories: greens and browns.
– Greens (Nitrogen-rich): Vegetable scraps, fruit peels, coffee grounds, fresh grass clippings.
– Browns (Carbon-rich): Dry leaves, straw, shredded newspaper, cardboard, small branches.
Aim to keep a balance of these materials for efficient decomposition—roughly 2 to 3 parts browns to 1 part greens.
3. Tools (Optional)
While tools aren’t required, a few simple items can make composting easier:
– Garden fork or pitchfork for turning the pile
– Watering can or hose to moisten materials
– Pair of gloves for handling rough or thorny items
Step-by-Step Guide to Start Composting
Step 1: Set Up Your Compost Bin or Pile
Place your bin or pile in a convenient spot with good drainage and some sunlight. Direct sunlight will help speed up decomposition but isn’t mandatory.
Step 2: Add Browns and Greens in Layers
Start the pile with a layer of coarse browns like twigs or straw for aeration. Then alternate between layers of greens and browns. This layering method encourages airflow and moisture retention.
Step 3: Keep It Moist
Your compost should feel like a damp sponge—not too dry or too wet. If it becomes too dry, add water. If too wet, add more dry browns.
Step 4: Turn Regularly
Aerating by turning the pile every 1-2 weeks helps speed up the composting process by introducing oxygen. If using a tumbling bin, rotating it does the job.
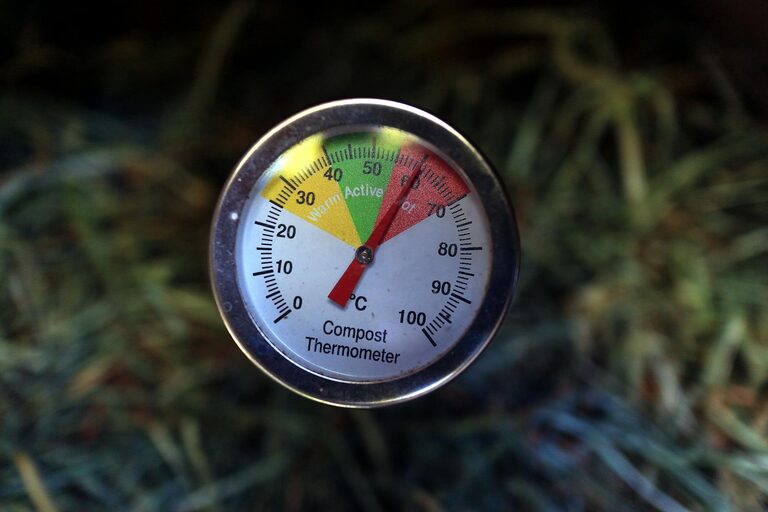
Step 5: Be Patient
Depending on conditions like temperature and materials used, compost can take anywhere from 3 months to a year to fully mature. Finished compost looks dark, crumbly, and smells earthy.
What to Compost and What to Avoid
Safe to Compost
– Fruit and vegetable scraps
– Coffee grounds and filters
– Tea bags (check if compostable)
– Eggshells (crushed)
– Grass clippings and leaves
– Shredded paper and cardboard (ink-free)
– Hair and fur
Avoid Composting
– Meat, dairy, bones, and oils (attract pests)
– Diseased plants or weeds with seeds
– Pet waste from carnivores
– Treated wood or synthetic materials
Troubleshooting Common Composting Problems
– Pile smells bad: Often due to too much moisture or greens. Add more browns and turn the pile.
– Pile is dry and slow to decompose: Add water and mix in some greens.
– Pests attracted: Avoid meat, dairy, and oils. Use a closed bin or cover scraps.
– Pile isn’t heating up: Add more greens for nitrogen and make sure to turn it.
Using Your Finished Compost
Once your compost is ready, you can:
– Mix it into garden beds or pots as a soil amendment.
– Use it as mulch to conserve moisture.
– Sprinkle it around trees and shrubs.
Final Tips for Success
– Chop or shred large scraps for faster breakdown.
– Keep a small container in your kitchen for collecting scraps.
– Experiment with vermicomposting (using worms) if space is limited.
– Stay consistent—regularly add materials and turn your pile.
Composting is a rewarding process that benefits both your garden and the planet. Starting small and learning as you go is the best way to succeed. Give it a try, and you might be surprised how easy and satisfying home composting can be!
Happy composting!